Your Cart is Empty

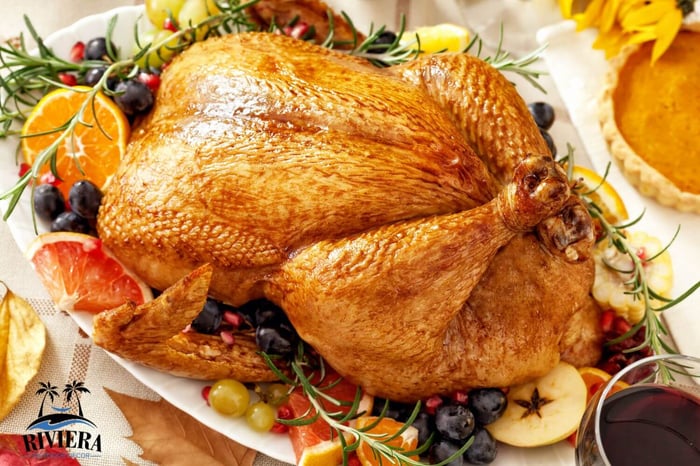
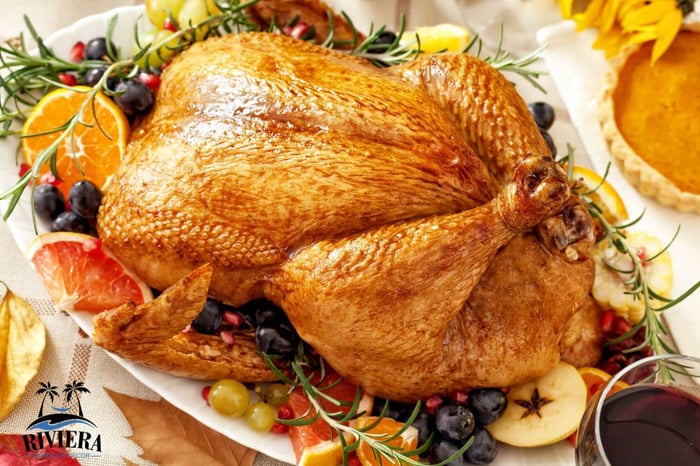
Grill your Thanksgiving Turkey? That is an option that is often not considered.. However, when the oven gets crowded and the kitchen does as well, this is a wonderful option for a delicious Thanksgiving Turkey.
A Grilled Thanksgiving turkey is a cherished tradition for many. It's a culinary adventure that brings a unique flavor to the holiday table.
But what if you're a coastal homeowner? The coastal environment presents unique challenges for outdoor cooking and we will discuss overcoming those challenges.
This guide is here to help. It's a comprehensive resource on how to grill your Thanksgiving turkey, specifically tailored for those living by the coast.
We'll cover everything from selecting the right turkey to carving it for serving. You'll learn about brining, seasoning, and grilling techniques that work best in coastal conditions.
We'll also delve into the challenges of coastal grilling and how to overcome them. From wind and saltwater corrosion to humidity and tide levels, we've got you covered.
So, ready to grill your Thanksgiving turkey like a pro? Let's dive in.
 Grill your Thanksgiving Turkey
Done to perfection!
Thanksgiving is a joyous time for family, food, and gratitude. It's also an opportunity to showcase your home's outdoor spaces while enjoying fresh air and being outside.
Choosing the right turkey is the first crucial step in your grilling journey. Start by considering the size of your grill. A large turkey may not fit comfortably, especially on smaller grills.
Aim for a turkey that weighs between 12 and 16 pounds. This size is optimal for most grills and ensures even cooking. Remember, a too-large turkey may lead to uneven cooking and missed holiday expectations.
Here are some factors to keep in mind when selecting your turkey:
Think about how your turkey will complement the rest of your meal. Smaller turkeys are ideal if you plan to offer a variety of dishes. They also cook faster, which can be advantageous in unpredictable coastal weather.
Ultimately, the right turkey will fit your grill and meet the needs of your gathering. Selecting the perfect bird is key to a successful coastal Thanksgiving.
Getting your outdoor kitchen ready is essential before grilling your Thanksgiving turkey. Start by cleaning your grill thoroughly to remove old grease and debris. A clean grill helps ensure the turkey's natural flavors shine through without unwanted char. Contact us for a professional grill cleaning in the Corpus Christi area.
Next, consider the layout of your outdoor space. Make sure there is ample room for prep work, cooking, and serving. Arrange your workspace efficiently, keeping in mind wind direction to reduce smoke and interference with grilling. Or, consider roll down screens to block the wind or intense sun.
It's vital to inspect your grill for any damage caused by coastal elements. Check for corrosion, especially if your grill is not made of stainless steel. If possible, place your grill in a location sheltered from strong sea breezes, which can affect cooking temperature. Equipping your setup with durable, rust-resistant tools and accessories will enhance your grilling experience. By taking these steps, your coastal kitchen will be ready for a festive Thanksgiving gathering.
Brining is a crucial step for achieving a juicy and flavorful grilled turkey. The brine process helps the turkey absorb moisture and seasons it from within. This is especially useful for coastal grilling, where humidity can impact cooking.
Start by selecting a large container to fit your turkey. Then, mix water, salt, and sugar as the base for your brine. Feel free to add herbs, spices, citrus, and garlic for extra flavor. Let the turkey soak in the brine solution for at least 12 hours, but no more than 24.
Here's a quick brine guideline:
After brining, rinse the turkey under cold water to remove excess salt and pat dry. This will prepare the meat for the next stage of seasoning, ensuring a succulent bird that’s perfect for any coastal Thanksgiving feast.
Once your turkey is brined and ready, it’s time to focus on seasoning. Seasoning enhances the natural flavors absorbed during brining. Coastal conditions can add unique challenges, like salt in the air, so a balanced seasoning is vital.
Start by preparing an aromatic herb butter. Mix softened butter with chopped herbs like rosemary, thyme, and sage. Add minced garlic and the zest of one lemon. Gently loosen the turkey's skin and rub the herb butter underneath, ensuring the breast and thighs are well covered.
Don't forget the exterior! Lightly coat the turkey’s skin with olive oil. Then, sprinkle a mixture of salt, pepper, and your favorite spices. Paprika or cayenne can add a subtle kick and enrich the bird’s color. With these steps, your turkey will gain a delightful depth of flavor ready for the grill. This thoughtful approach to seasoning ensures a memorable coastal Thanksgiving meal.
Grilling a turkey to perfection involves mastering indirect heat and setting up a two-zone fire. This method ensures even cooking and avoids burning the exterior before the interior is fully cooked. Understanding this technique is crucial, especially in coastal environments where the wind can complicate heat control.
Begin by arranging your grill for a two-zone fire, which includes a hot side and a cooler side. On a charcoal grill, pile the coals on one side to create distinct heat zones. For gas grills, light only half the burners. This setup allows you to sear on high heat and cook through with indirect heat.
Placing the turkey on the cooler side is crucial. This position uses convection to cook the turkey evenly without direct exposure to flames. This technique keeps the skin crispy and prevents the meat from drying out.
Placing a pan of water on the hot side of the grill can aid with the convection effect, and help keep the turkey from drying out. You can add lemon wedges, onions, spices and other flavor enhancers to the water as well. When you open the grill to rotate the turkey, refill the water pan as necessary, using hot water to avoid dropping the temperature in the grill.
Remember these key steps for success:
Using indirect grilling and a two-zone fire setup creates a perfectly grilled turkey. It helps tackle the challenges of coastal cooking, providing a stress-free grilling experience. Master these techniques to make your Thanksgiving turkey the star of the feast.
Keeping a consistent grill temperature is essential for a juicy Thanksgiving turkey. This task can be challenging in coastal areas where wind and humidity fluctuate. Regularly checking your grill thermometer helps keep the temperature stable around 325°F.
A built-in or standalone meat thermometer is invaluable for ensuring the turkey reaches the perfect internal temperature of 165°F. This tool lets you monitor progress without lifting the lid, which can release heat. Adjust your grill’s vents or burners to maintain the ideal cooking environment, ensuring your turkey cooks evenly and thoroughly.
Using a drip pan beneath your turkey can simplify the grilling process. This simple tool catches dripping fat, preventing unwanted flare-ups that can char the skin. It also collects flavorful juices you can use for basting.
A meat thermometer is your best ally for ensuring the turkey is safe and cooked to perfection. Insert it into the thickest part of the breast or thigh, avoiding bone. Once it registers 165°F, your turkey is ready, guaranteeing a safe and juicy dining experience. These tools are essential for a hassle-free grilling session.
After grilling, allow your turkey to rest for about 20 to 30 minutes. Resting enables the juices to redistribute throughout the meat, enhancing its flavor and moisture. Cover it loosely with foil to retain warmth without overcooking.
Carving too soon can lead to a dry turkey, as juices escape quickly when cut. Patience at this stage ensures each slice is moist and tender. This waiting period is vital for maximizing the grilled turkey's taste and texture, transforming your Thanksgiving meal into a delightful experience.
Grilling on the coast poses unique challenges due to wind, humidity, and salty air. These factors can affect grilling temperatures and the longevity of outdoor kitchen equipment. Planning and proactive measures can effectively address these challenges.
To combat the impact of the elements, focus on grill placement and equipment protection. Choose a sheltered location, away from direct wind, to maintain consistent temperatures. Use windbreaks or contact Riviera Outdoor Décor for roll down shades to block for wind, intense sun or mosquitos. Or, try partitioning within your outdoor design to enhance stability.
Here are some tips for tackling coastal grilling challenges:
By employing these strategies, you ensure your coastal grilling setup remains efficient and durable, allowing you to enjoy delicious Thanksgiving turkey year after year.
For a smoky and aromatic turkey, using wood chips is a great technique. Choose fruitwood or hardwood chips like mesquite, apple, cherry, or hickory. Soak them in water for about 30 minutes before grilling to prevent them from burning too quickly.
In addition to wood chips, herb butter adds a rich and savory layer of flavor. Blend softened butter with fresh herbs like rosemary, thyme, and sage. Apply generously under the turkey skin and on the surface. This method not only infuses the turkey with delightful aromas but also keeps it moist as it cooks.
Once your turkey has rested, it's time to carve. Use a sharp carving knife to ensure clean cuts. Start by removing the legs, slicing through the joint where the thigh meets the body.
Carve the breast meat by cutting thin slices parallel to the breastbone. Arrange the pieces neatly on a platter for a beautiful presentation. Serve with your favorite side dishes for a coastal-inspired Thanksgiving feast, ensuring each bite is a perfect blend of smoky flavor and tender texture.
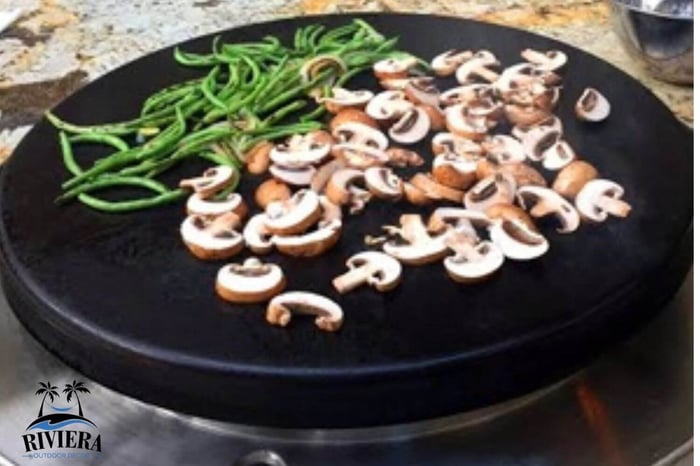
At Riviera Outdoor Décor, we are all about a healthy lifestyle and Garden to Grill is one of our favorites. We enjoy the Evo Social Grill in our outdoor kitchen for gathering with friends and family in the outdoor kitchen.

2 slices bacon, diced
½ white onion, minced
1 pound fresh green beans, trimmed
½ teaspoon red pepper flakes
½ cup boiling water
1 tablespoon butter
1 teaspoon lemon juice
salt and pepper to taste
Cook the bacon in a large, deep skillet over medium-high heat until crisp, about 10 minutes. Remove the bacon with a slotted spoon and drain on a paper towel-lined plate; return the skillet with the reserved bacon grease to the stove.
Cook the onion in the bacon drippings until soft, 5 to 7 minutes. Stir in the green beans and red pepper flakes; cook another 2 minutes. Pour the boiling water into the skillet and cover the skillet immediately; steam for about 15 minutes, shaking the skillet occasionally to keep the beans from sticking to the bottom. Add the butter, lemon juice, salt, and pepper; cook and stir until the butter is melted, 3 to 5 minutes. Sprinkle the cooked bacon over the beans to serve.
Complement your grilled turkey with sides that enhance its smoky flavors. Consider dishes like roasted vegetables, creamy mashed potatoes, or a crisp coastal salad. These pair beautifully with the turkey and add vibrant colors to your table.
After the feast, store leftovers properly to maintain their freshness. Use airtight containers to keep the turkey moist. Reheat gently to preserve its flavor and texture. Consider transforming leftovers into sandwiches or incorporating them into soups for delightful meals in the days following your Thanksgiving celebration.
